
Bad Vectors
Vector designs must be clean. It is very important to have no overlapping vectors, as that will create ambiguity. For example, these two squares on the left share an overlapping edge, and the line/square on the right has a line vector overlapping the square.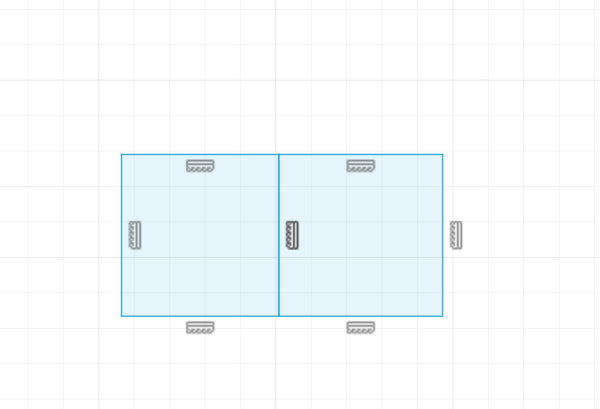
Bad vectors: overlapping edge or a shared edge
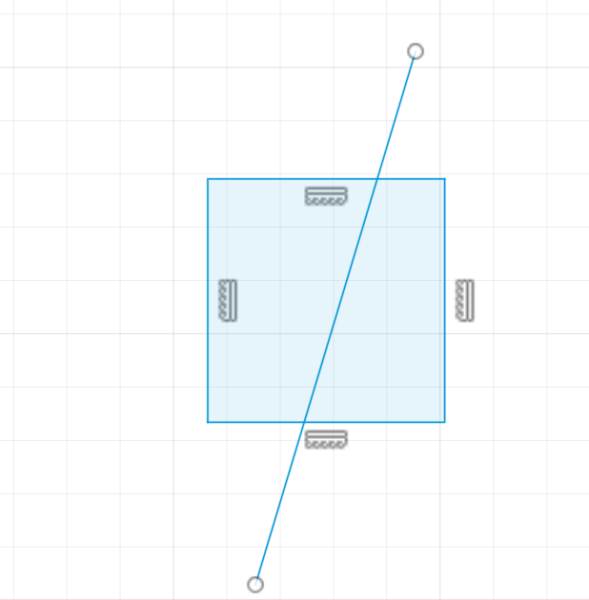
Bad vectors: overlapping line
Adjusting Vectors
The overall design can also affect your inlay fit, and in general you have to modify the design based on the particular v-bit you intend to use. Vector designs should also generally be “machinable” with the bit you are using. Most bits have some sort of tip diameter (or radius), even if it isn’t advertised. You should round all corners in your design to have at a mimimum the same radius as your tip radius. This is especially important when using a Tapered Ball Nose. See VBit Selection for more information. Watch this video on how to create proper designs: How to Design Correctly for VCarve InlaysRound Corners
See the Round Corners sketch editing commands for easily modifying sketch. vectorsNeed help? Join Corbin’s Facebook group CNC Woodworking or email corbin@corbinsworkshop.com