
Name Pocket
Optional. This is created if you checked “New Component”.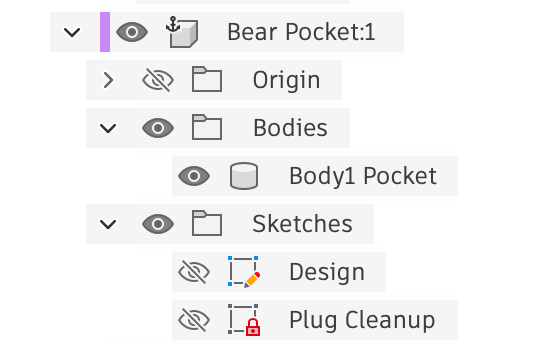
Pocket Component in the Browser
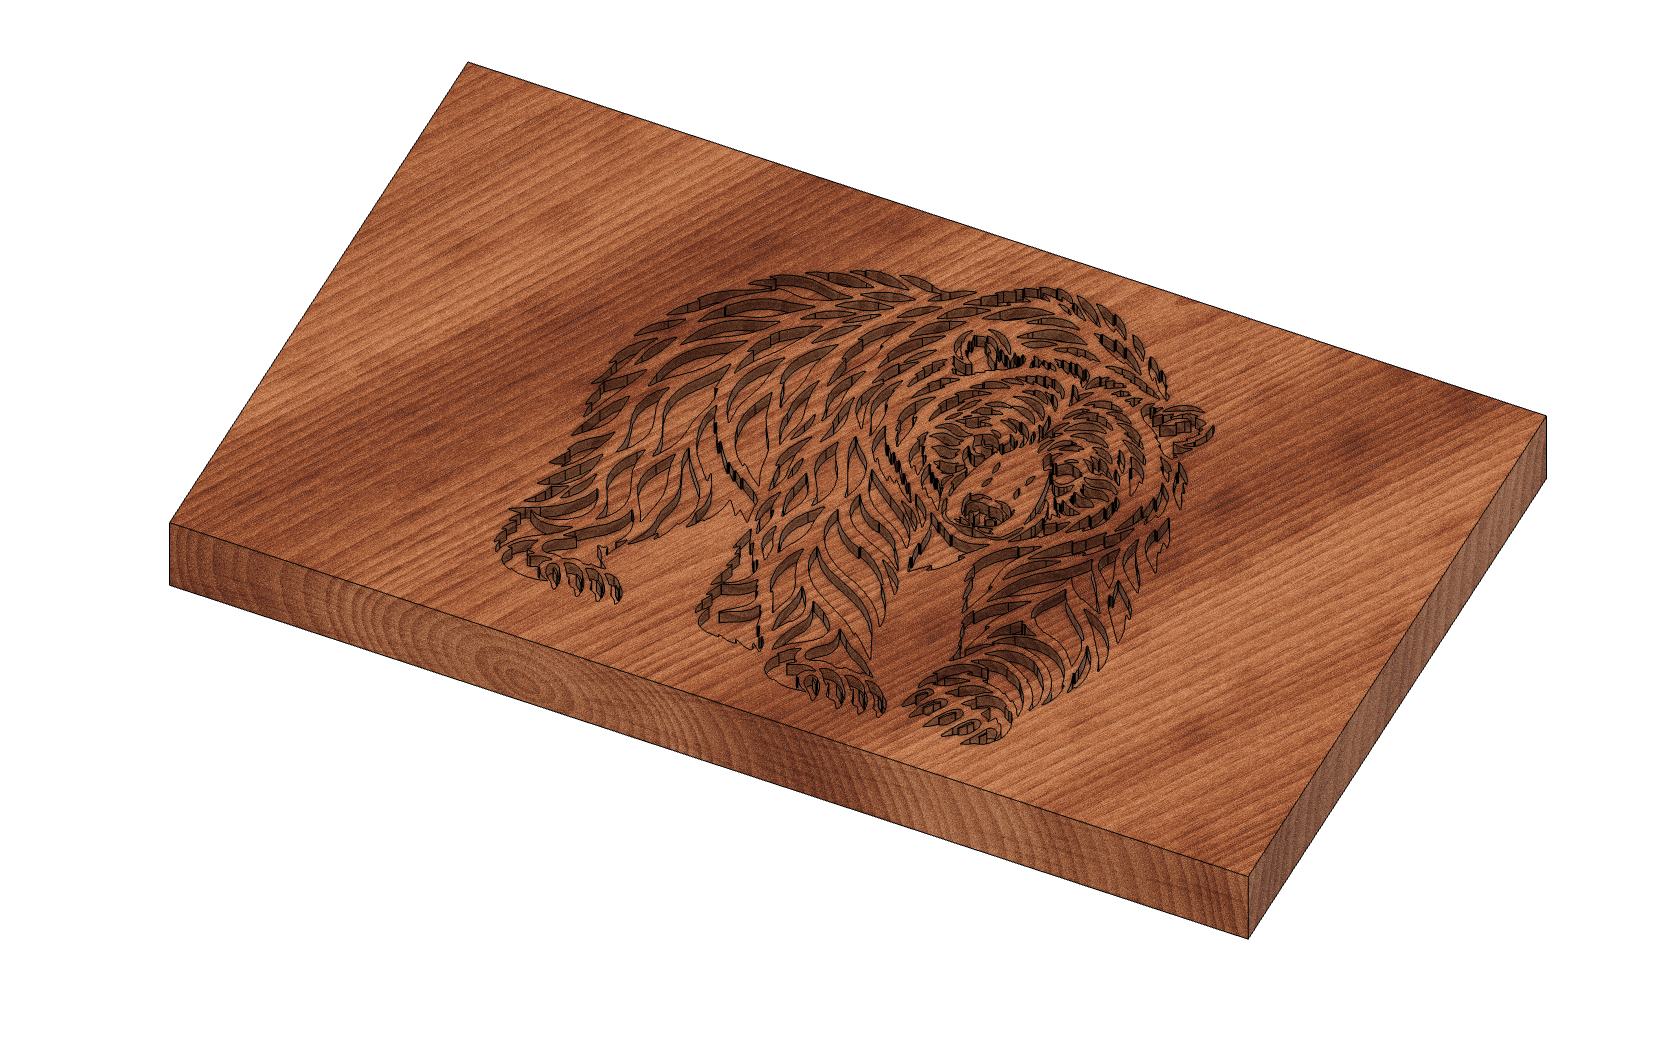
Pocket Component
- Design - A copy of the design profiles. This is used to limit the machining area. You should not modify this sketch.
- Plug Cleanup - An outline around the design that can be used for “cleaning up” the plug after it is glued in. You can edit and customize this.
If you did not check “New Component” then the selected target body will be directly modified, and the sketches will be added to it’s component.
Name Inlay
The actual finished inlay. This is mainly for a visual representation of the inlay and internal computations, and isn’t used for machining. Note that it may have many individual bodies.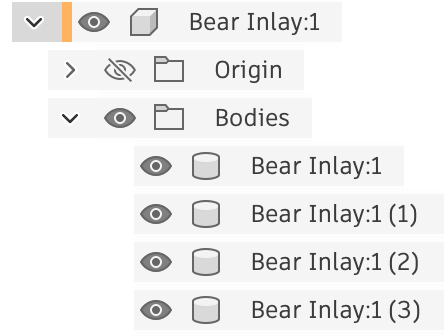
Inlay Component in the Browser
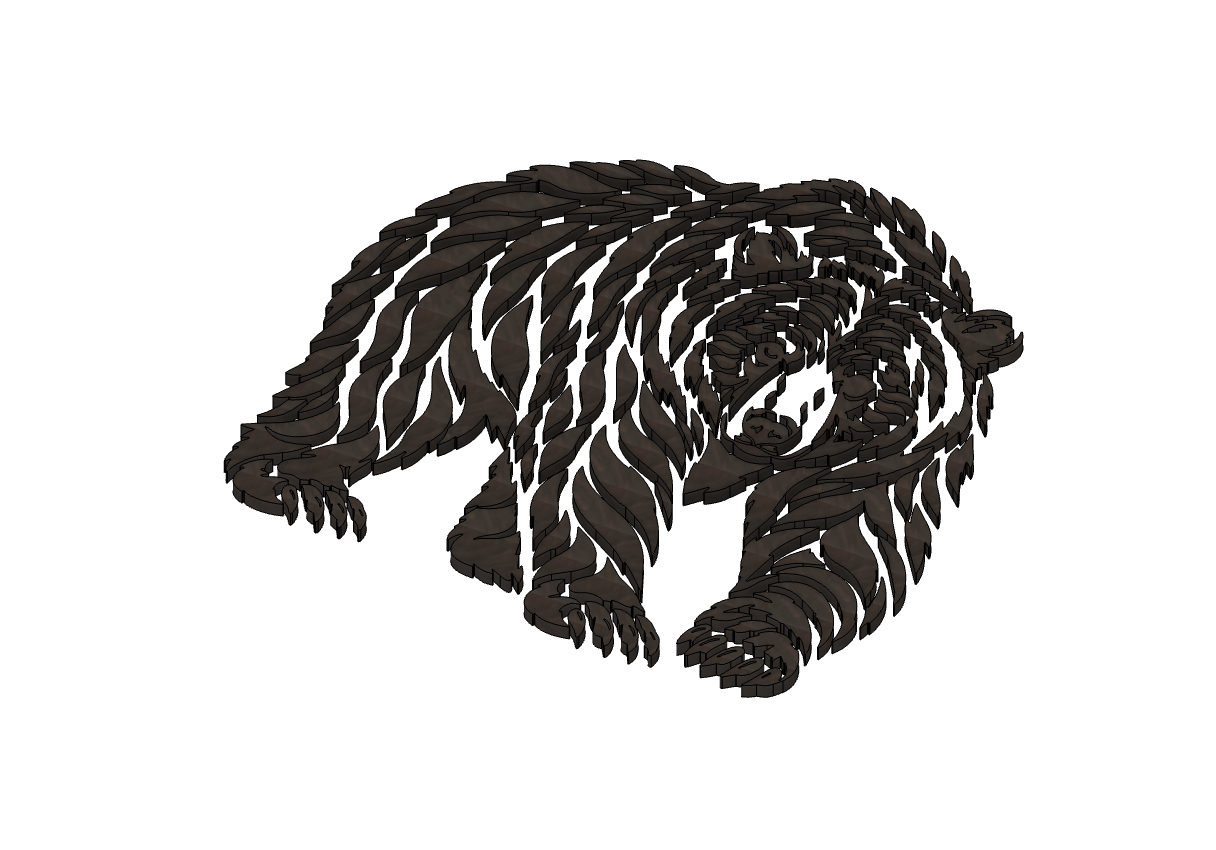
Inlay Component
Name Plug
The plug that fits into the inlay. This is the most customizable part!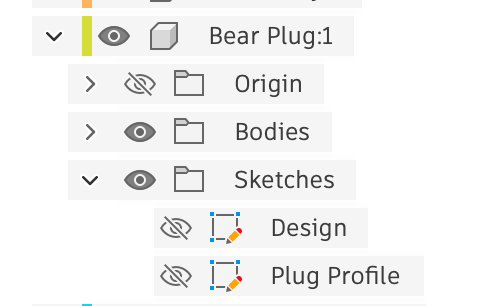
Plug Component in the Browser
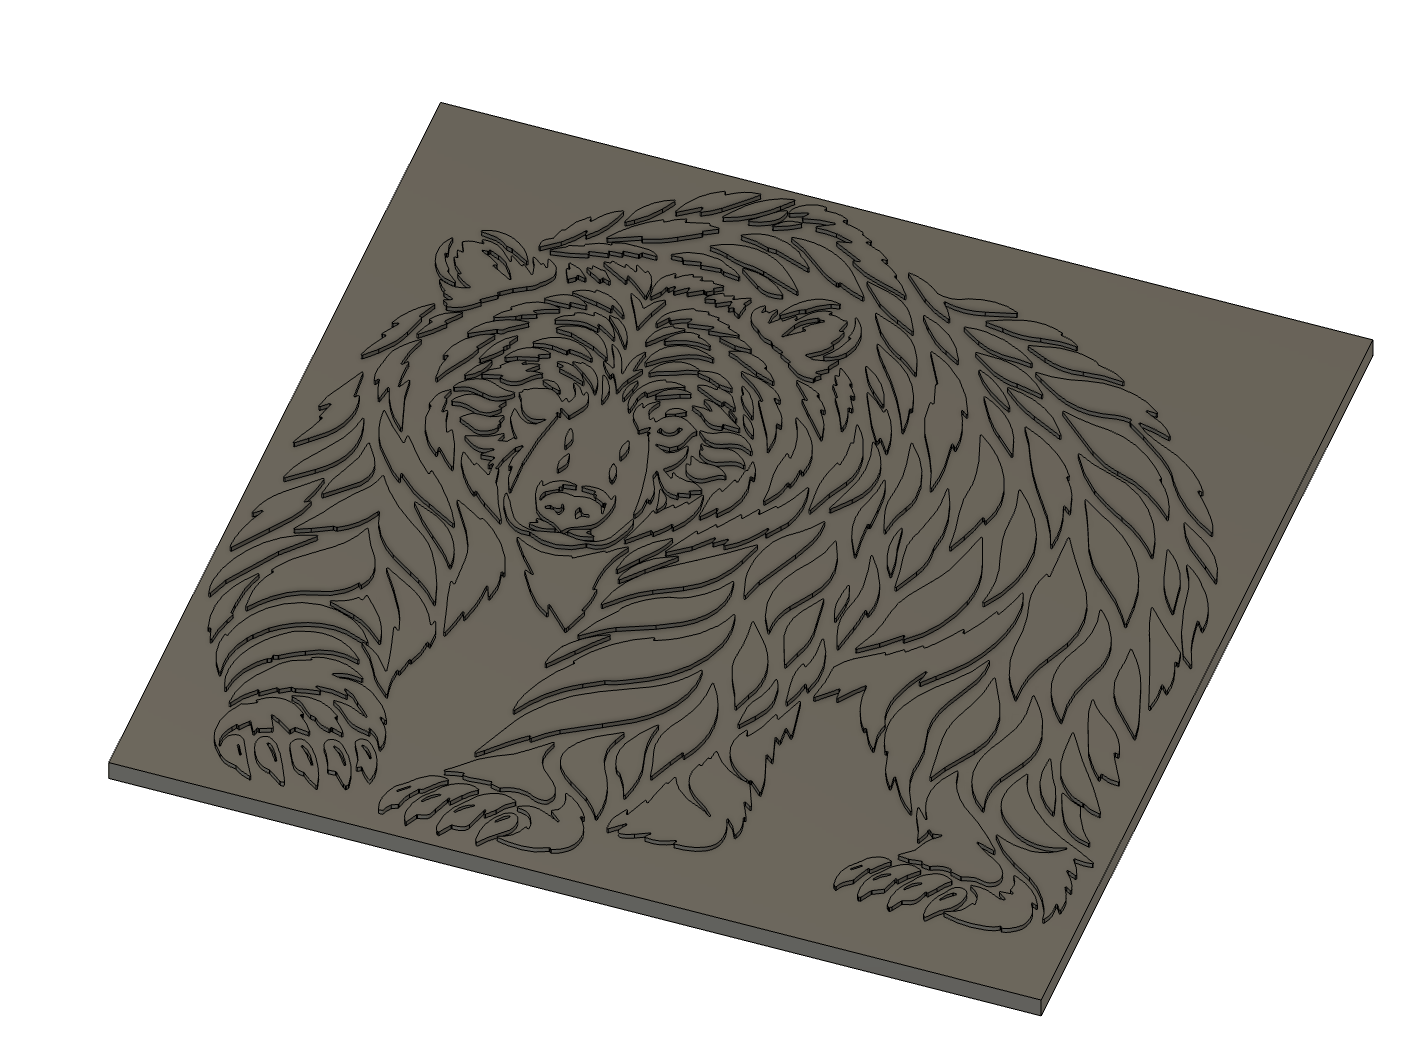
Plug Component
- Design - A copy of the design profiles. This is used to limit the machining area. But you can freely modify where you want each profile to be. You may want to seperate out profiles to give them more space on the entire plug, or to make it so you can cut out each one individually.
- Plug Profile - The main profile around the plug; the plug does not have to be square, and you can create round shapes around your design. Feel free to modify this profile; however, removing profiles will potentially lose the connection in the timeline for the plug’s base extrude, and will have to be fixed up (NOTE: I hope to address this in the future!).
Plug Customization Example 1
In following plug, Fillet was used to round over the corners of the plug body: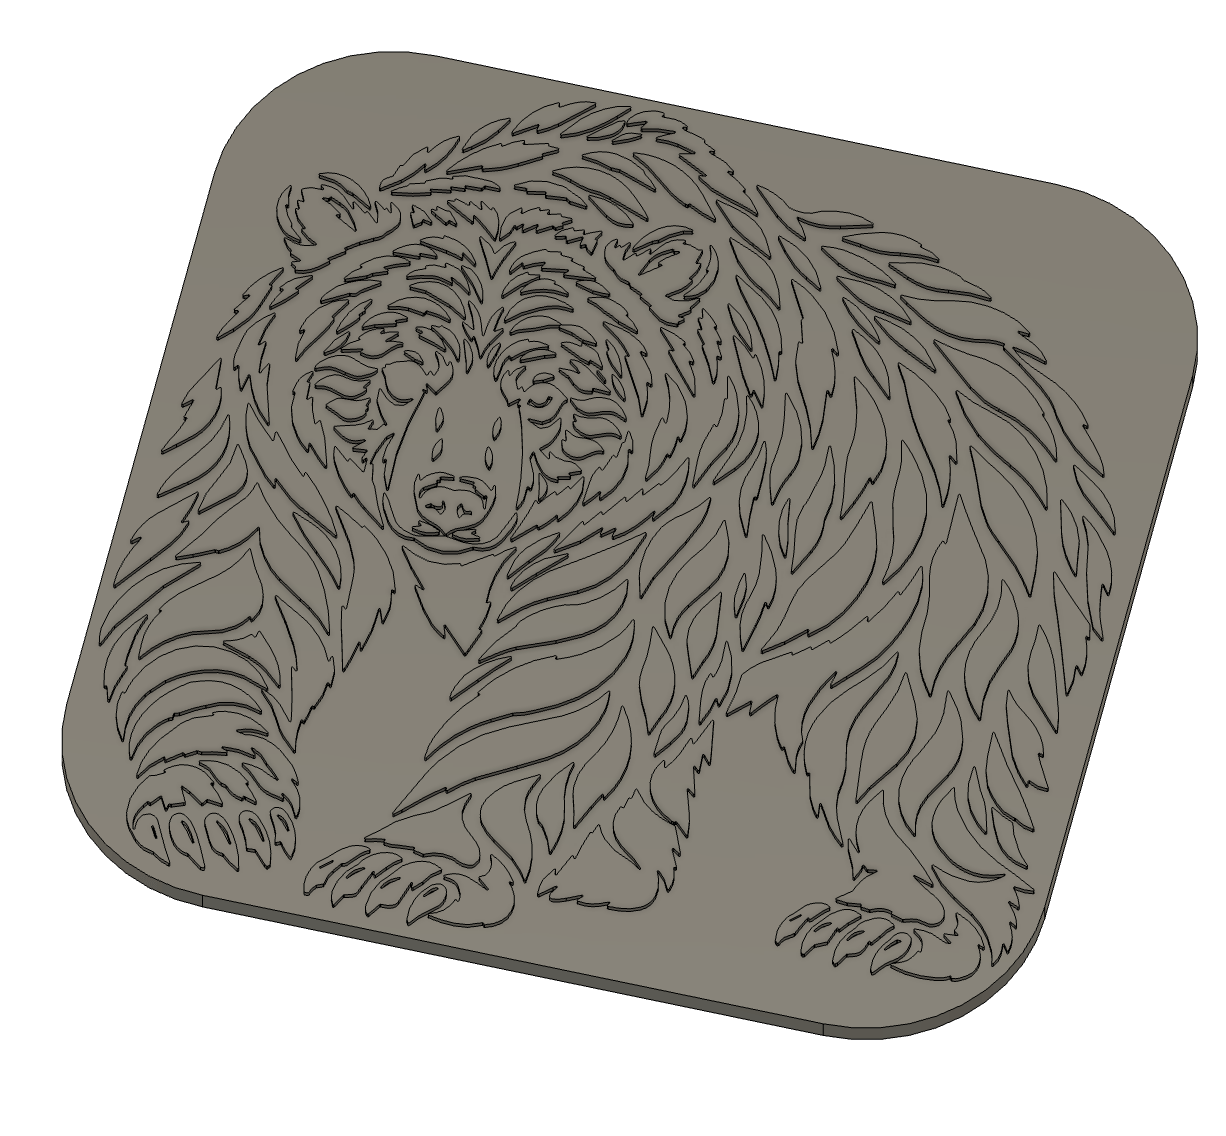
Rounded Plug Body
Plug Customization Example 2
1
Editing the Plug Profile sketch
In the following plug, the Plug Profile sketch is being edited. The Design sketch was made visible. The original rectangle was deleted, and a new “Fit Point Spline” was drawn around the design.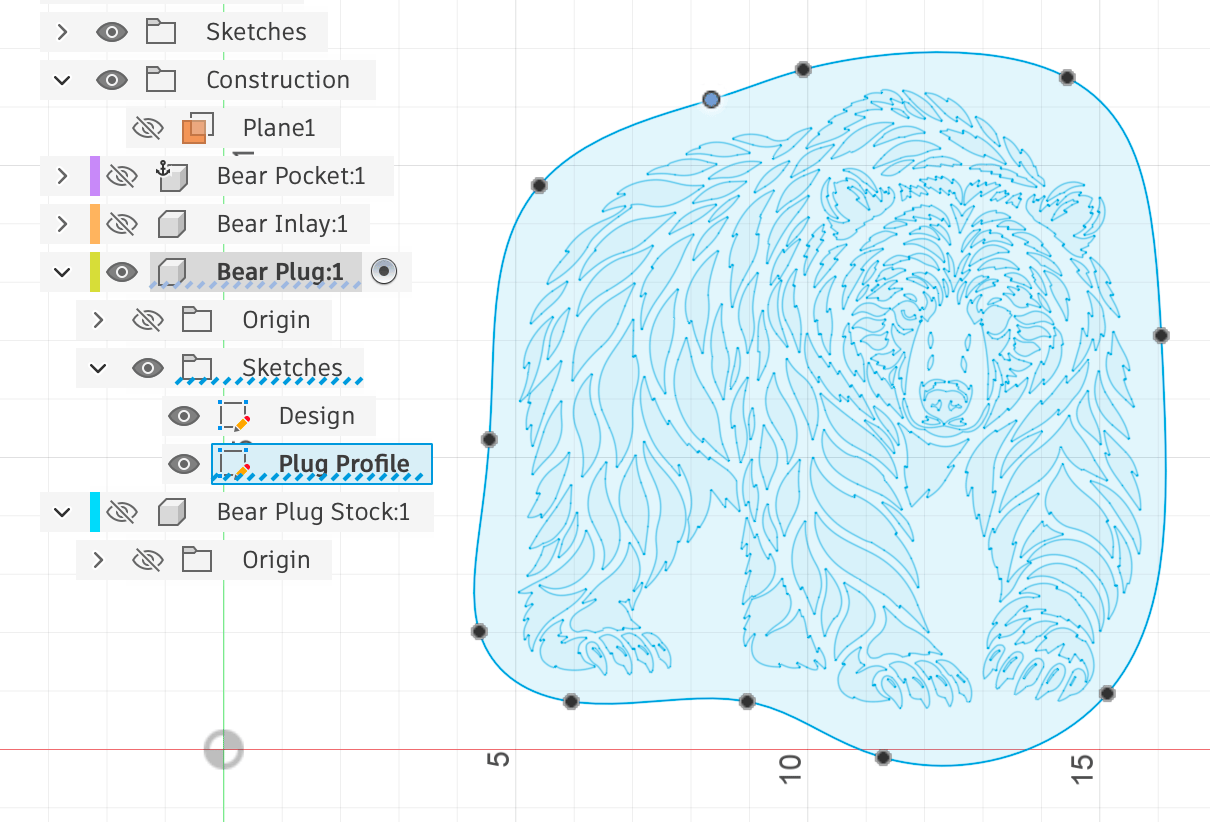
2
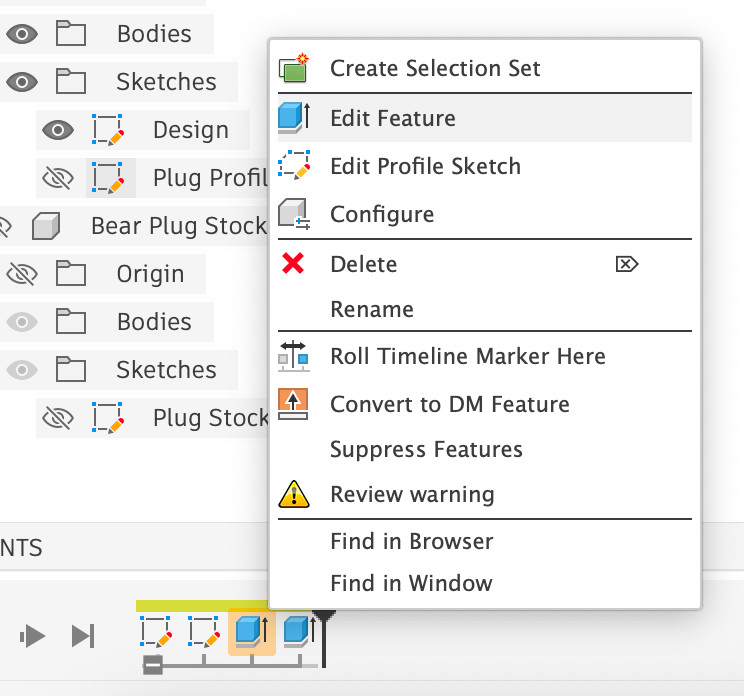
Timeline Warning
The timeline will now have a warning, as the original profile for the extrude was deleted. Right click on it and select “Edit Feature” (as shown) or double click on the timeline item.
3
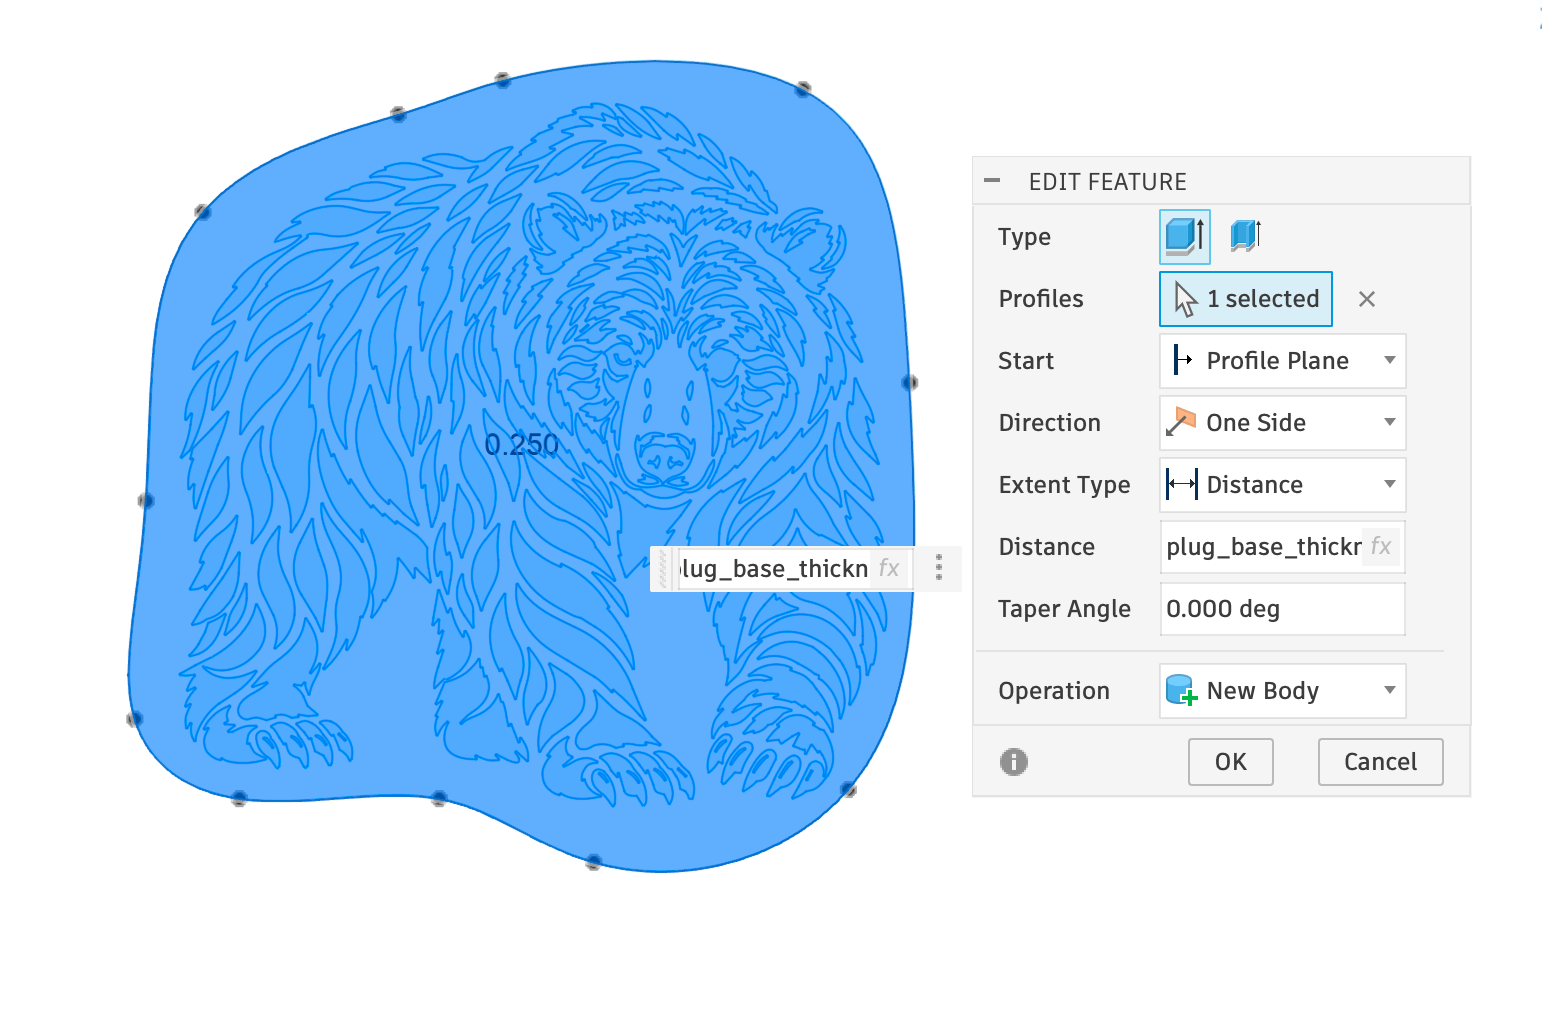
Profile Updated
The new plug profile can then be selected for the extrude and OK can be clicked to regenerate the Plug.
4
Updated Plug
The updated plug will now have a more organic profile, which will be easier to glue in: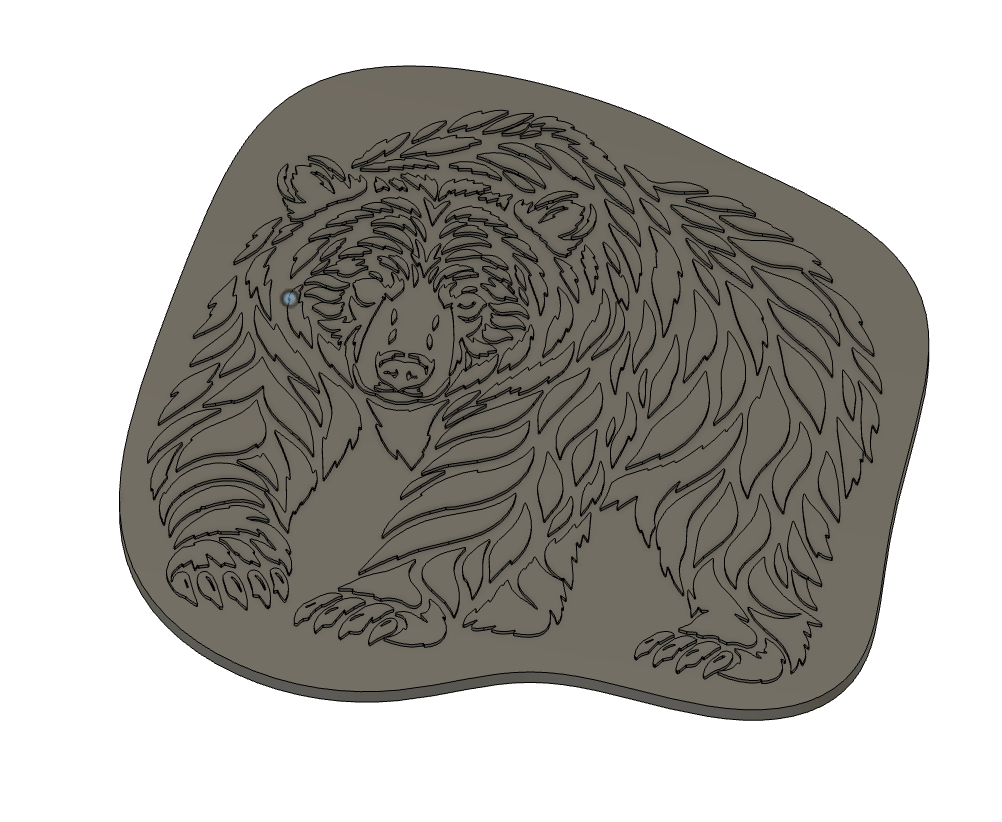
I hope to add an “organic” option to plug profiles to make this automatic!
Name Plug Stock
The “Stock Body” for the Plug when machining. It is shown with an opacity of 40% to not be in the way of things. This is another highly customizable component.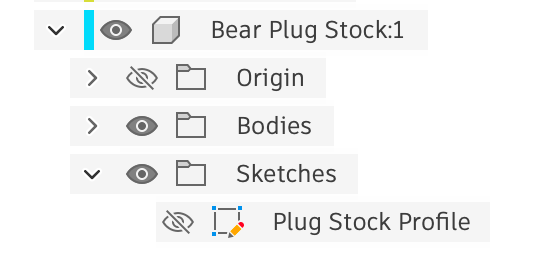
Plug Stock Component in the Browser
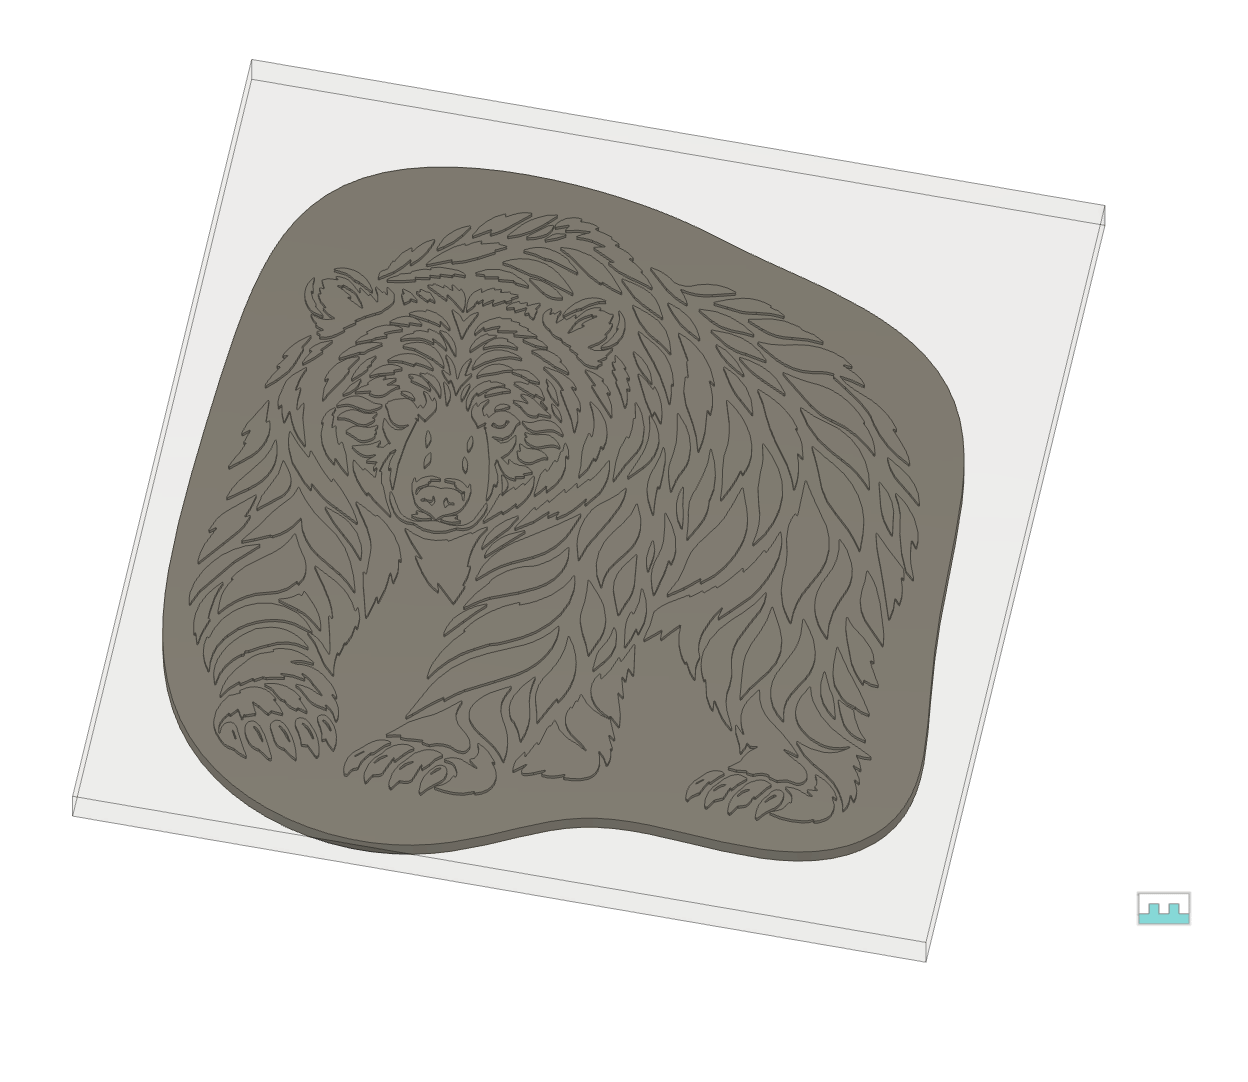
Plug Stock Component (Translucent rectangle) AND the Customized Plug
inlay_fit_adjustment parameter and the inlay_depth.
The depth of the plug stock is based on the Plug Base Thickness (Parameter: plug_base_thickness), and Inlay Depth. Usually you will first flatten the plug to the required height as descibed later.
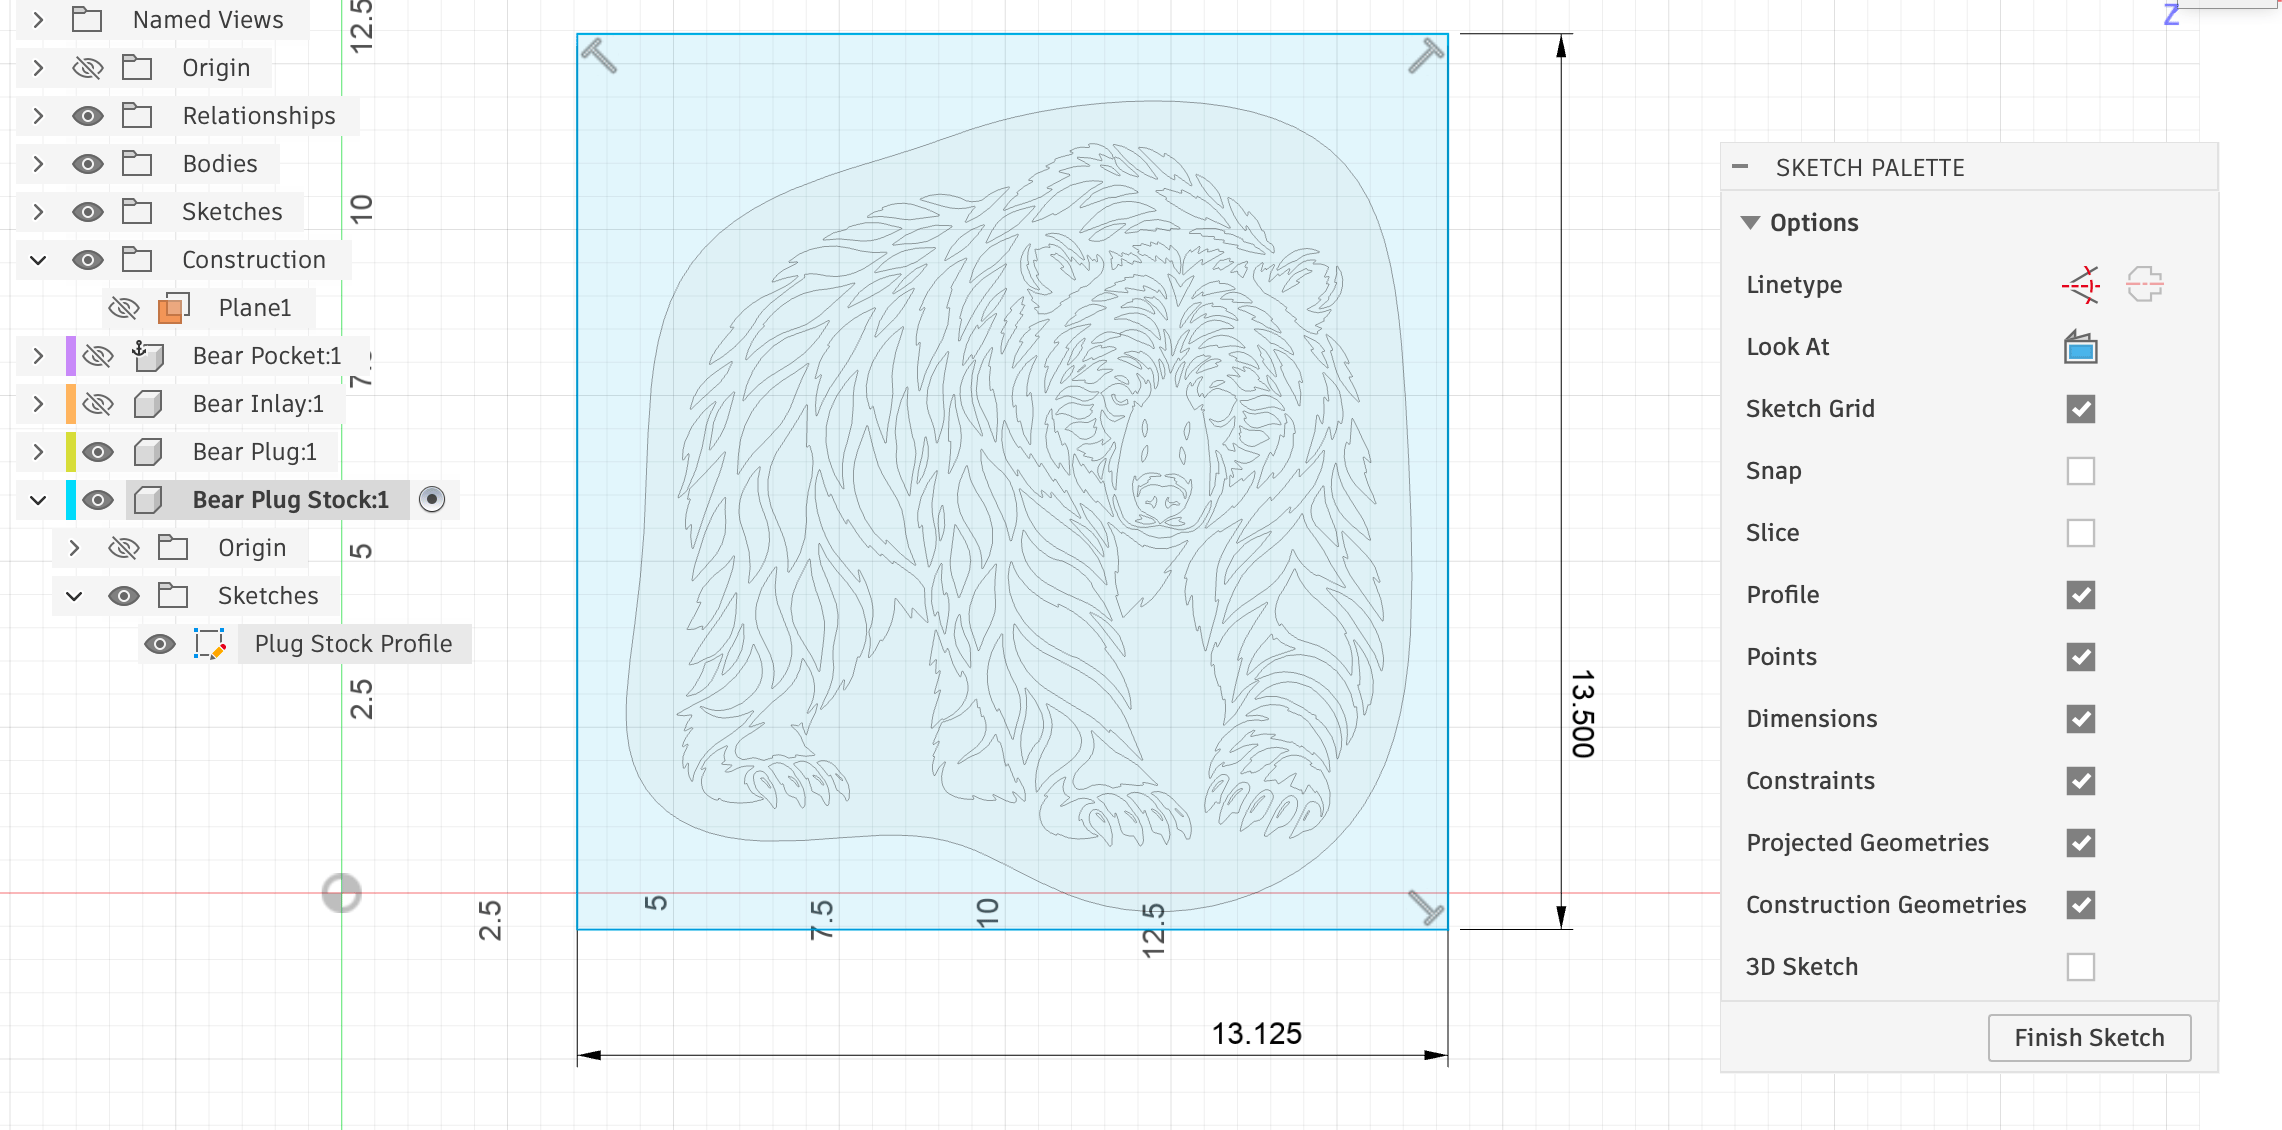
There is one sketch created: the Plug Stock Profile which you will likely want to edit.
Editing the Plug Stock Profile
Need help? Join Corbin’s Facebook group CNC Woodworking or email corbin@corbinsworkshop.com