
1. Create a basic shape in Fusion
1. Create a basic shape in Fusion
1
File -> New Document
Select Hybrid Design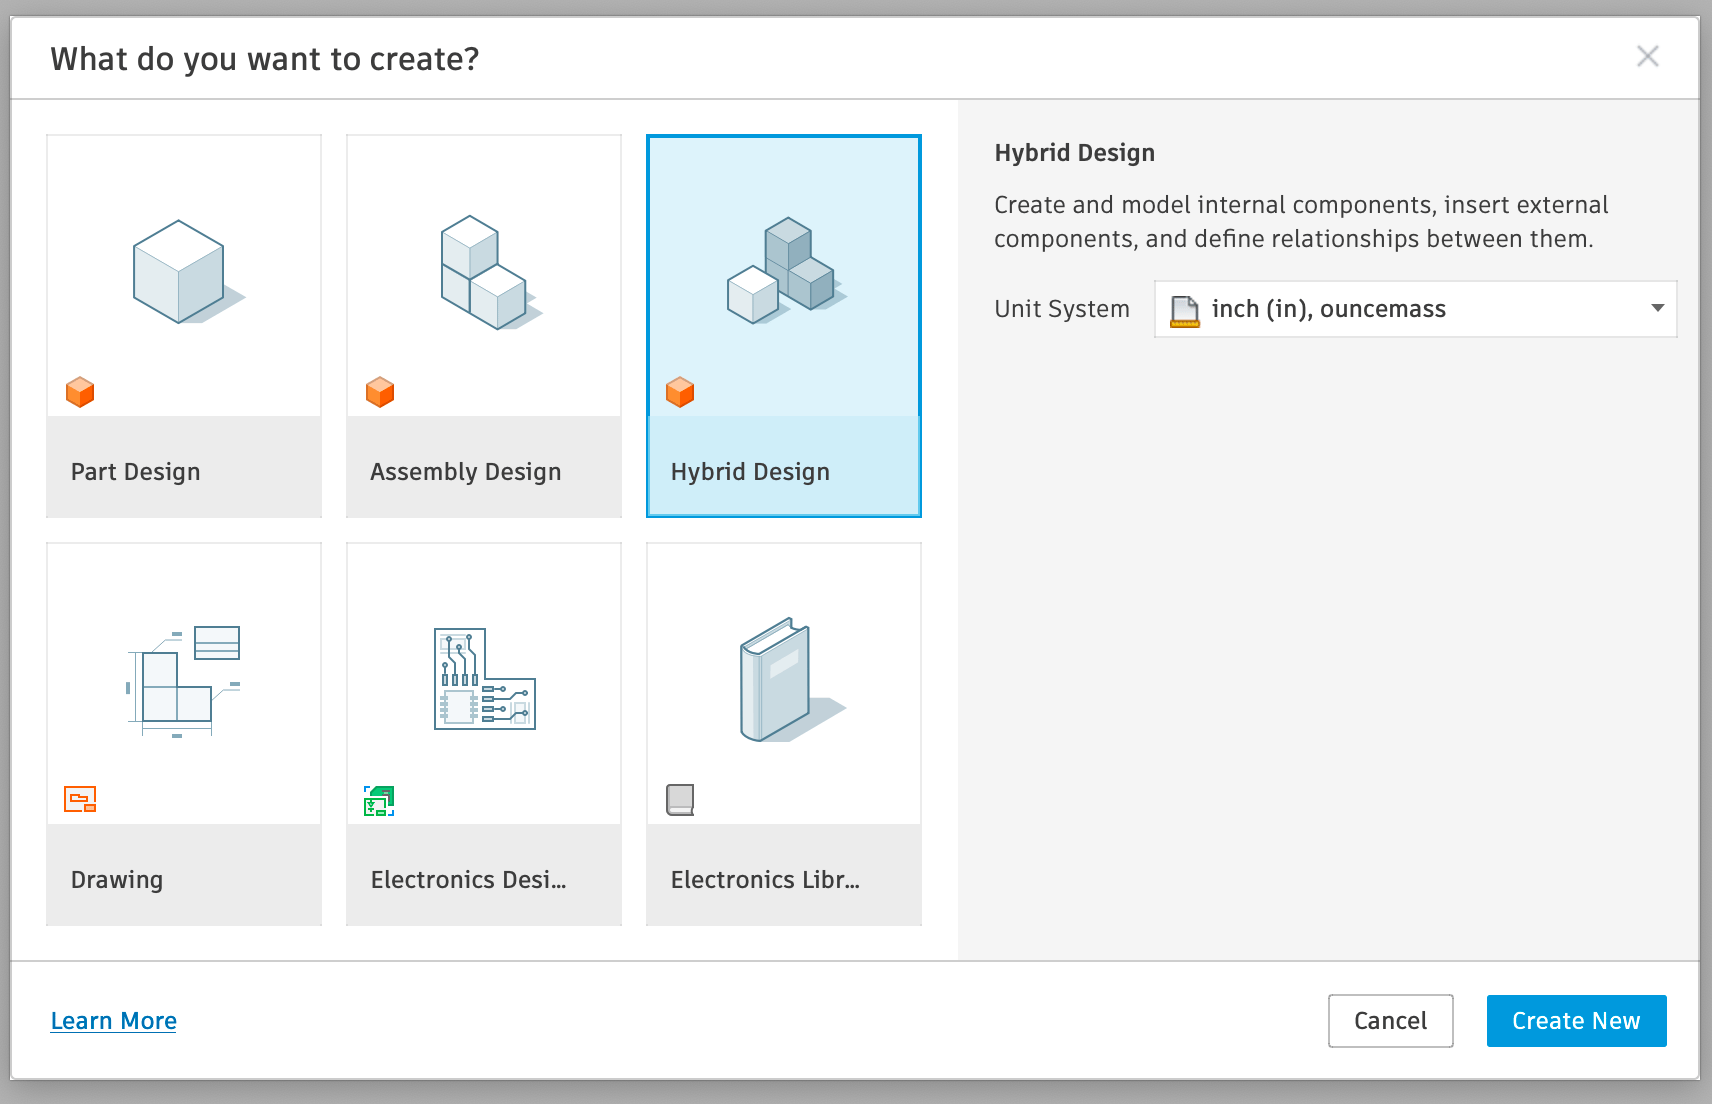
2
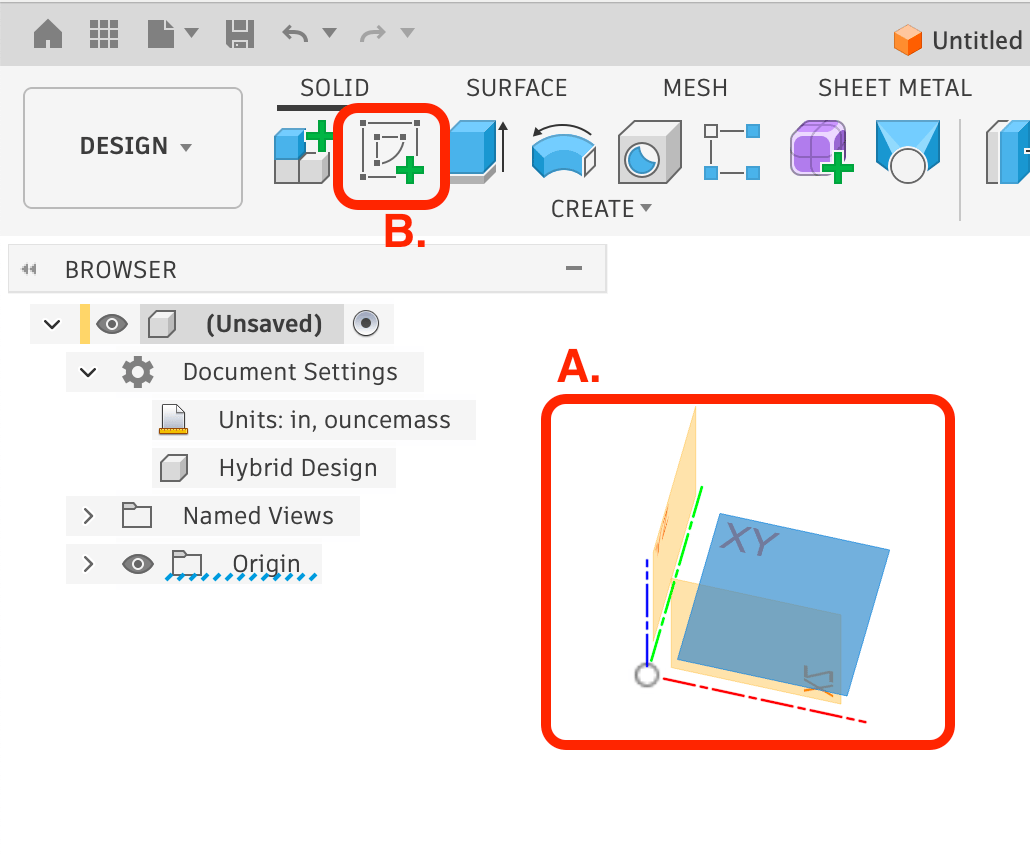
Create a new sketch
- A. Select the X/Y Plane
- B. Click New Sketch
3
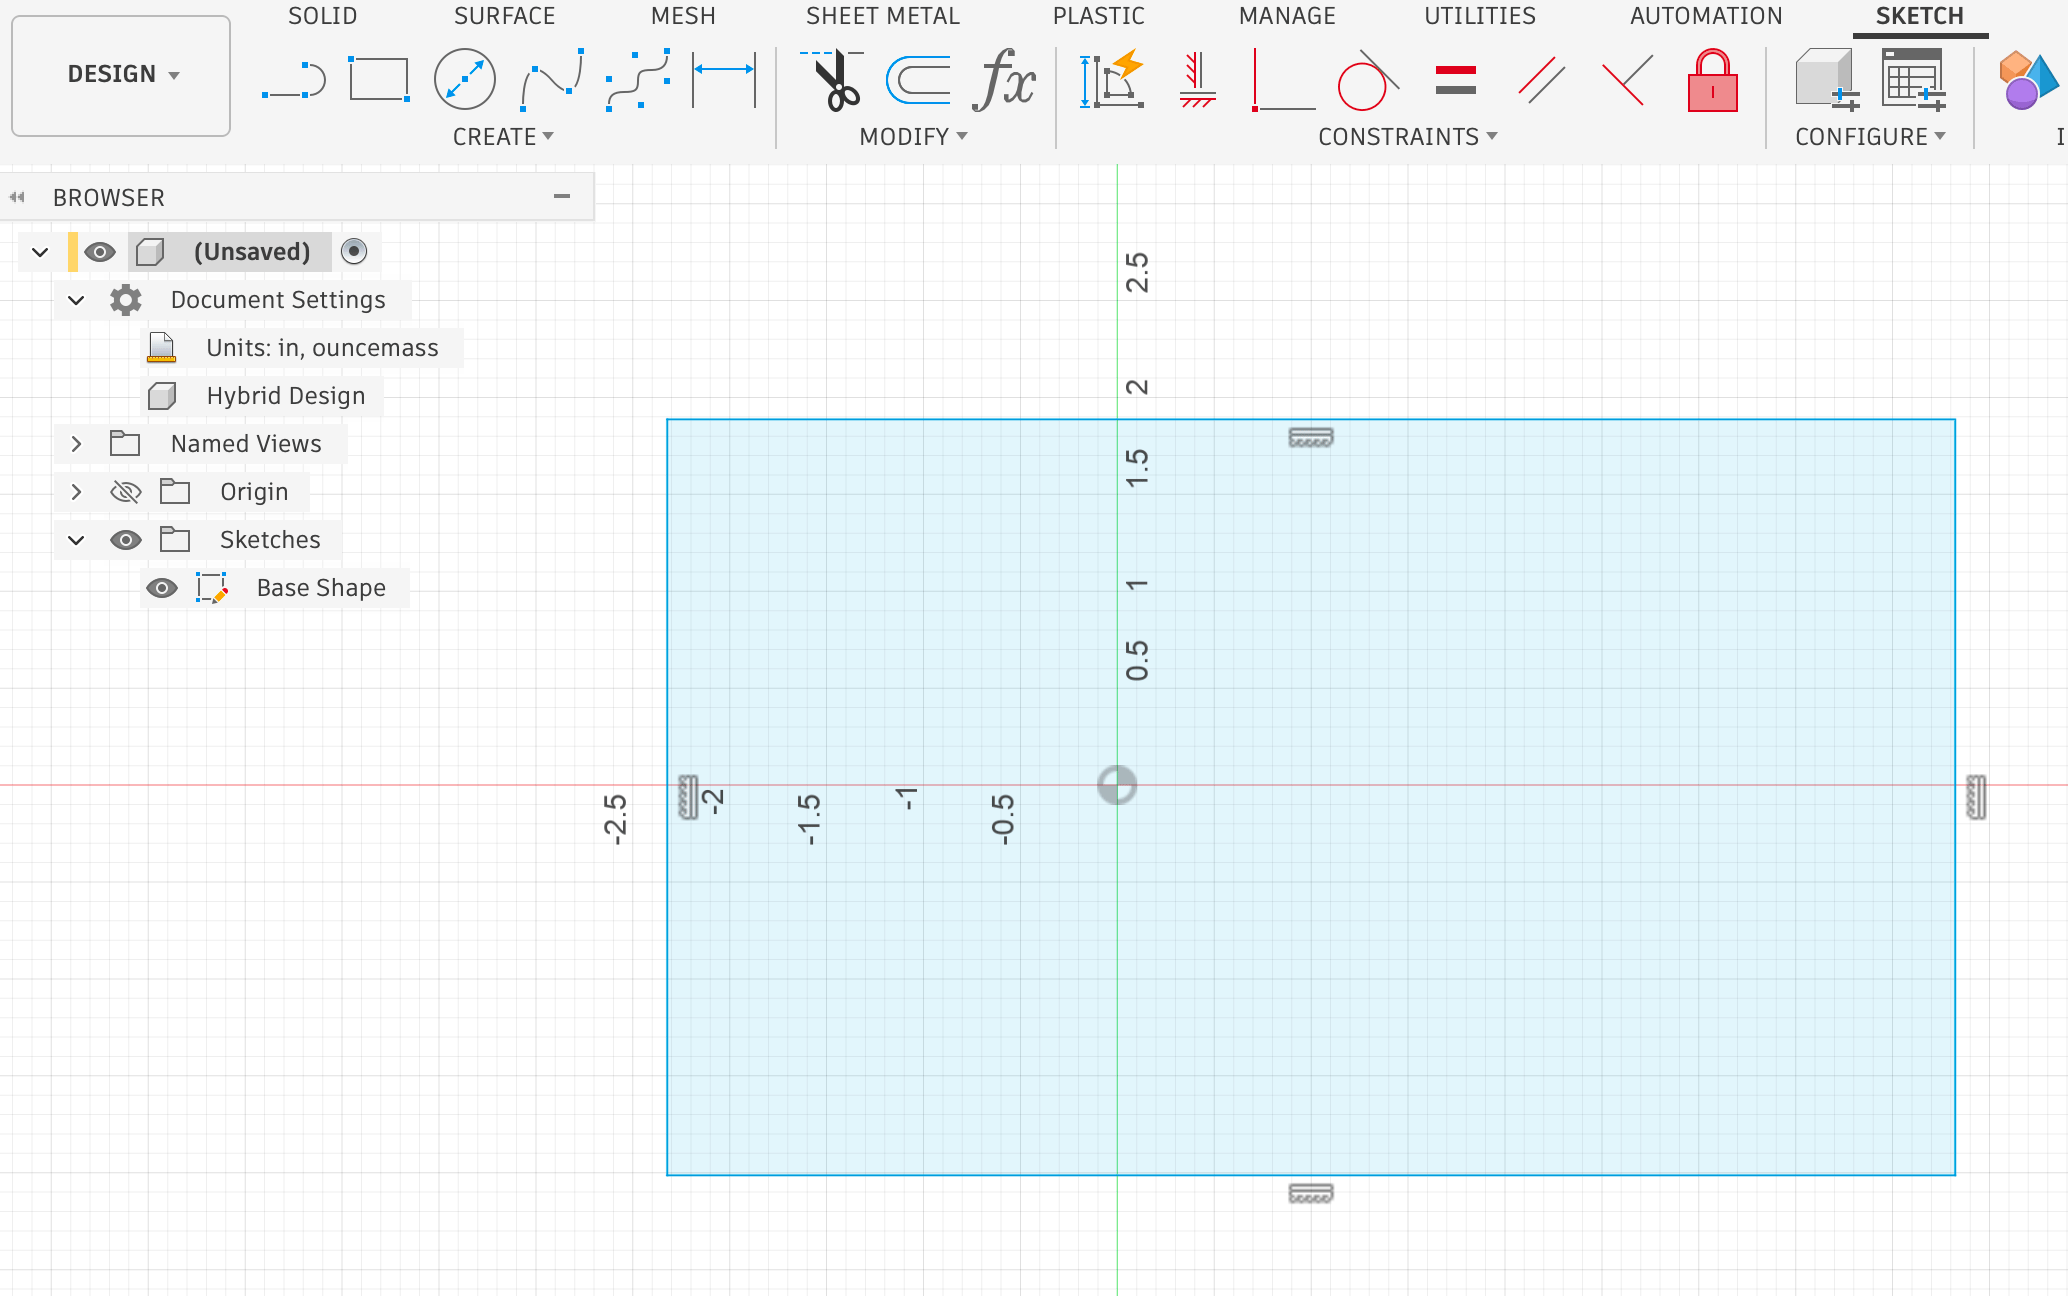
Draw a basic rectangle
- A. Click 2-point rectangle
- B. Click and drag to create a rectangle
4
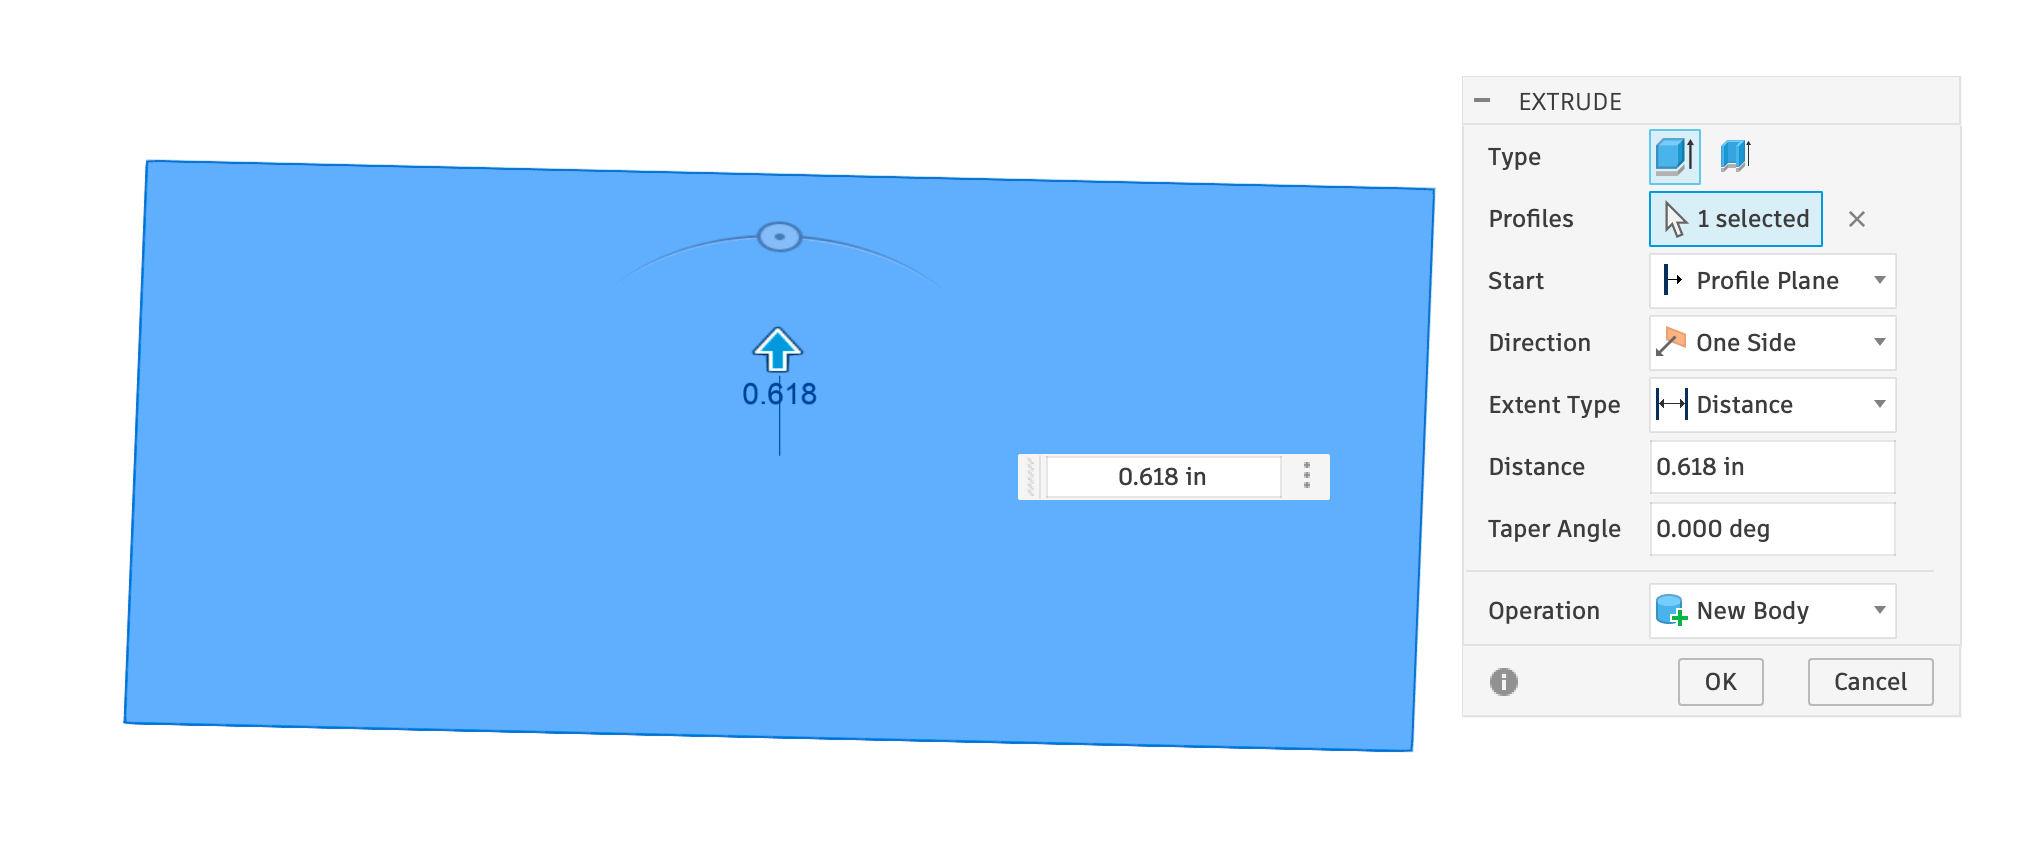
Extrude the rectangle
- A. Select the profile (blue)
- B. Type “E” for extrude
- C. Drag the Extrude arrow up, or type in a Distance
- D. Hit Enter
2. Create your Design Sketch above the shape
2. Create your Design Sketch above the shape
1
Select the top face
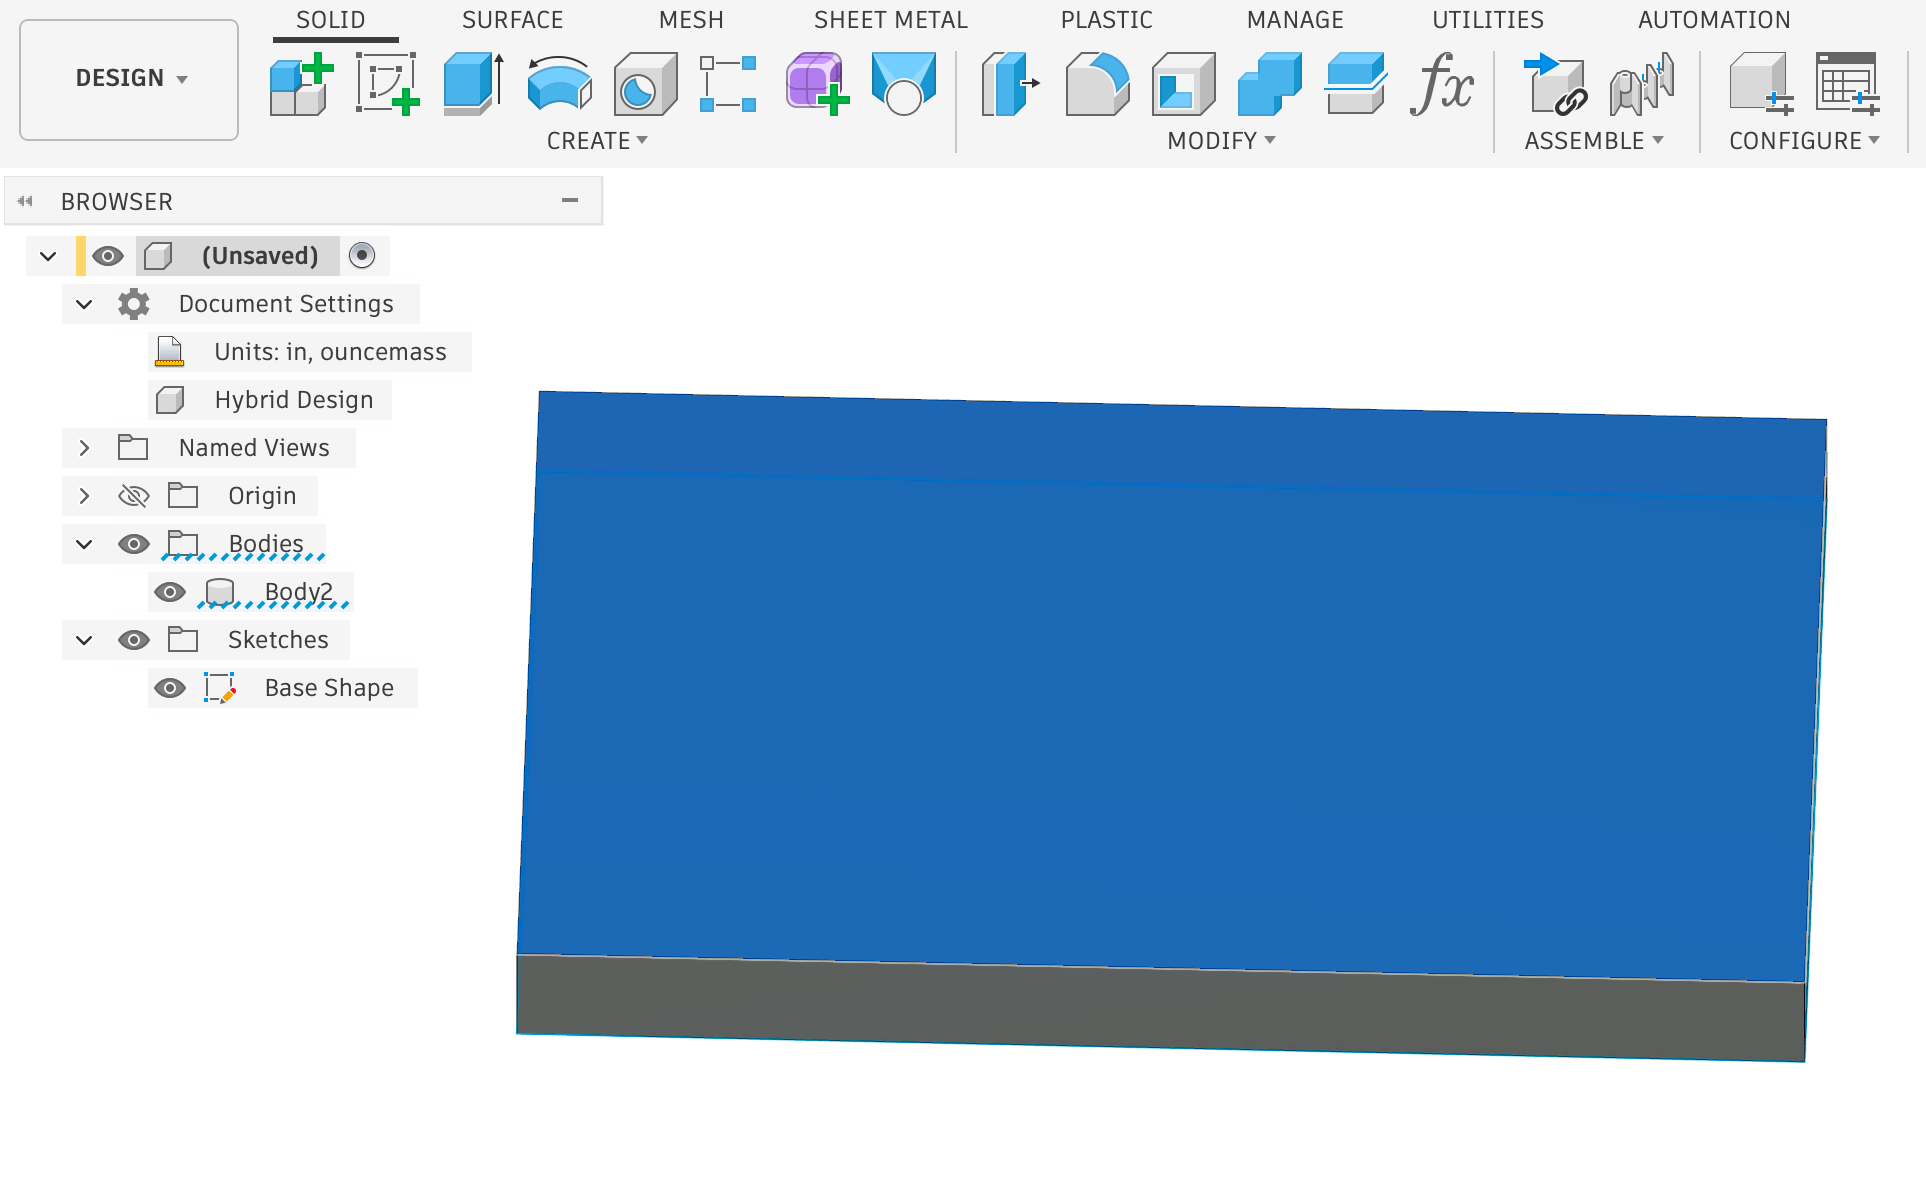
2
Click Create Sketch
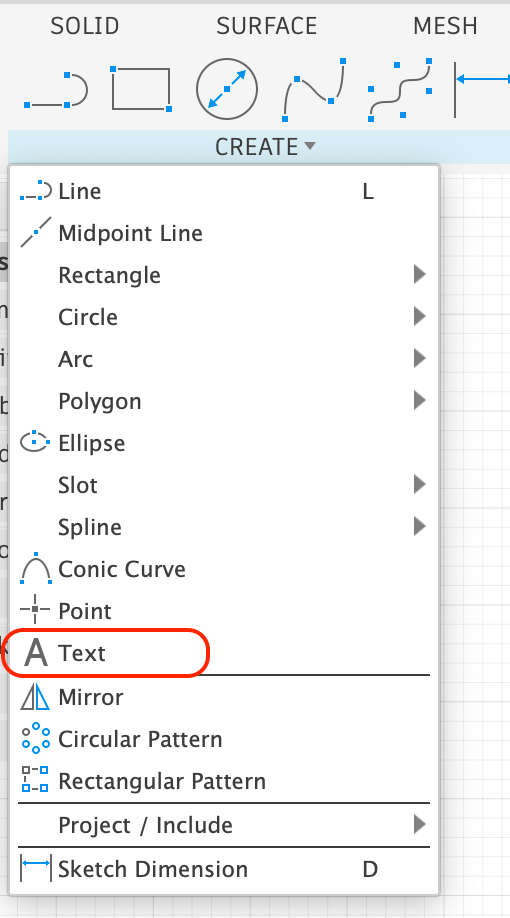
3
Click Create -> Text
4
Write some text above the shape
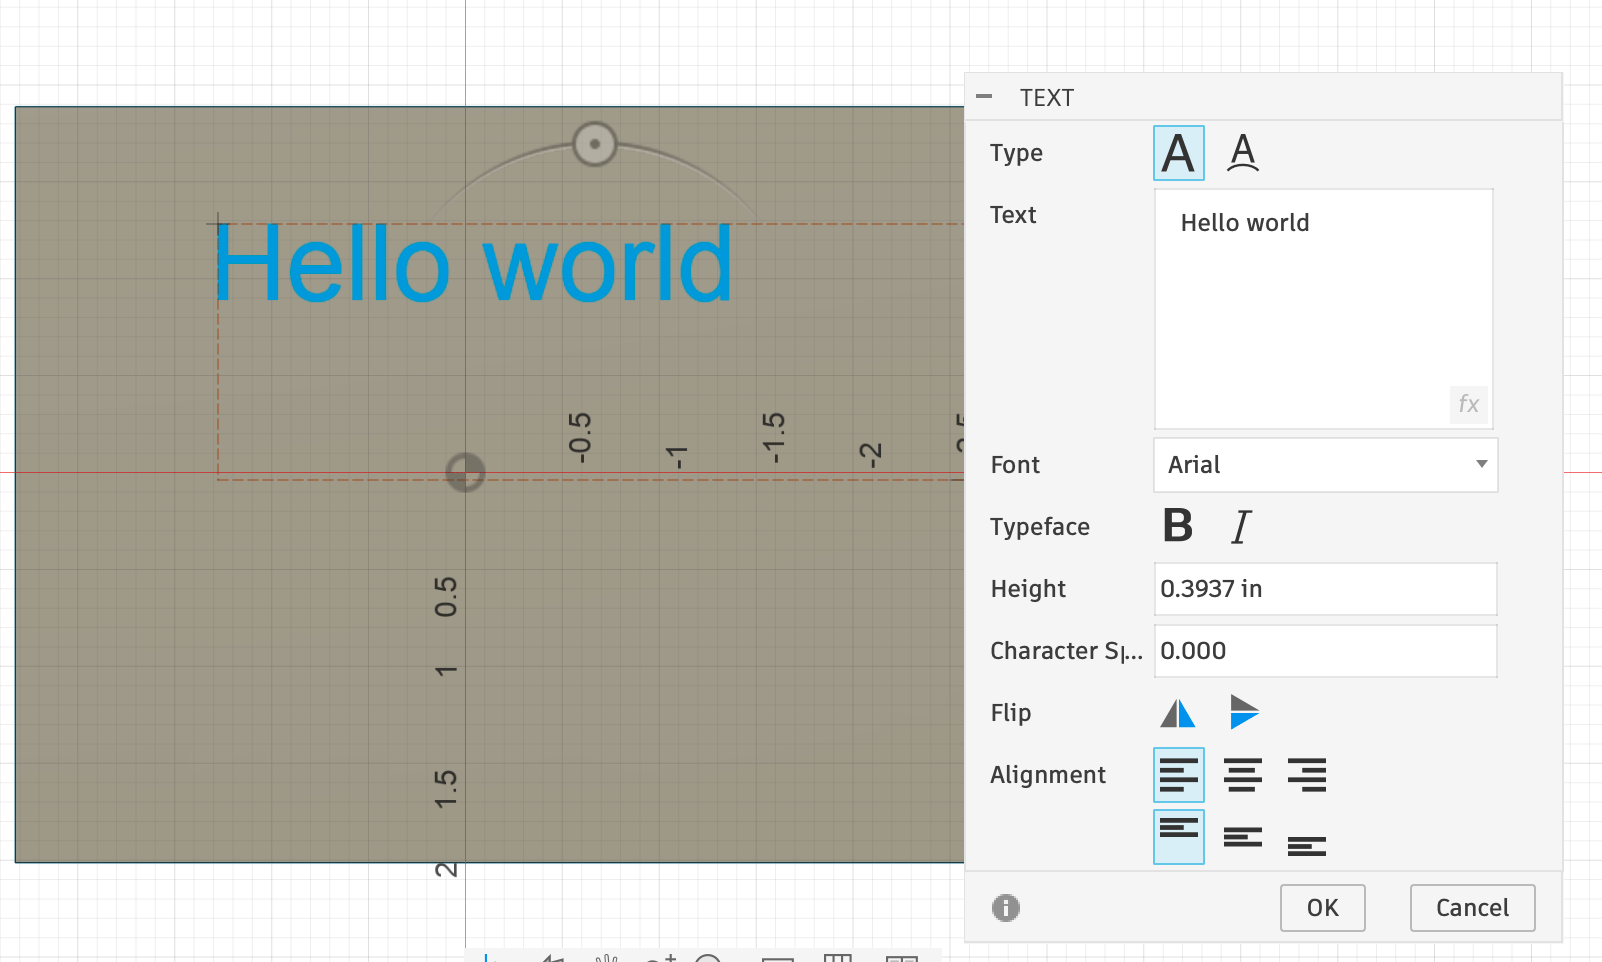
5
Click Finish Sketch
Optional: Modify your design for your bits
Optional: Modify your design for your bits
TODO: round corners documentation reference
Optional: Add your bits to the document
Optional: Add your bits to the document
3. Create the Inlays
3. Create the Inlays
1
Create -> VBit Inlay / VCarve
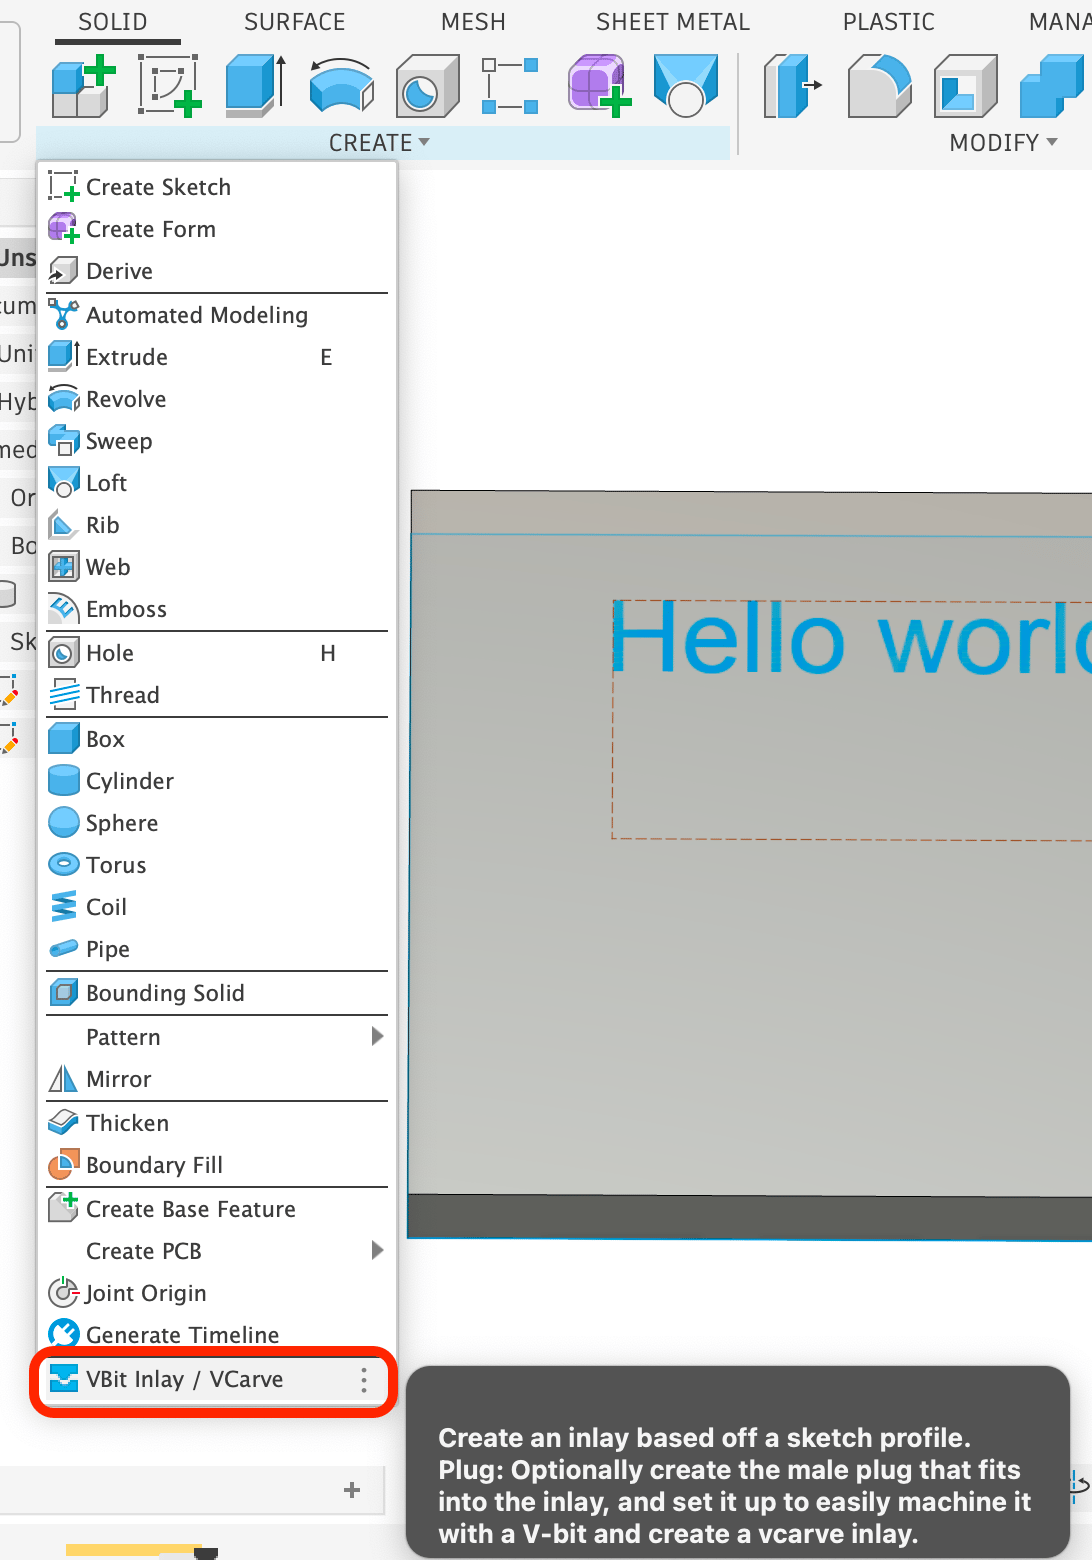
2
Click the Select button next to Profiles
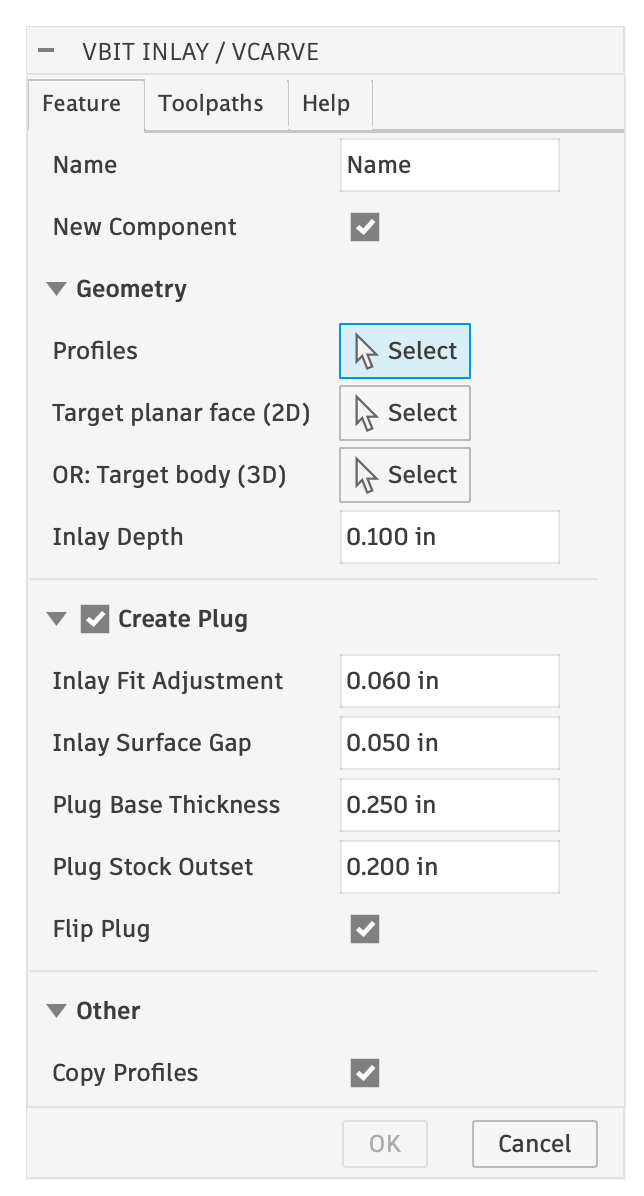
3
Click the Sketch Text to select it
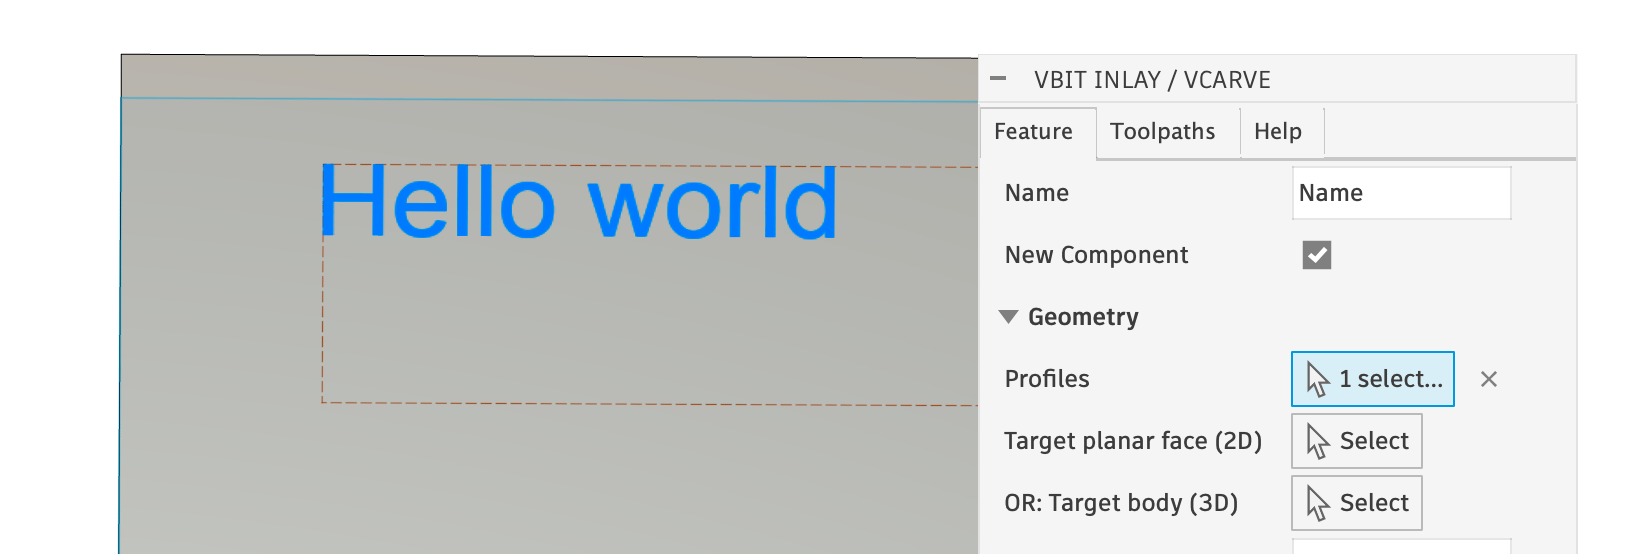
You can also select the Sketch in the Browser
4
Click the Select button next to Target Planer Face (2D)
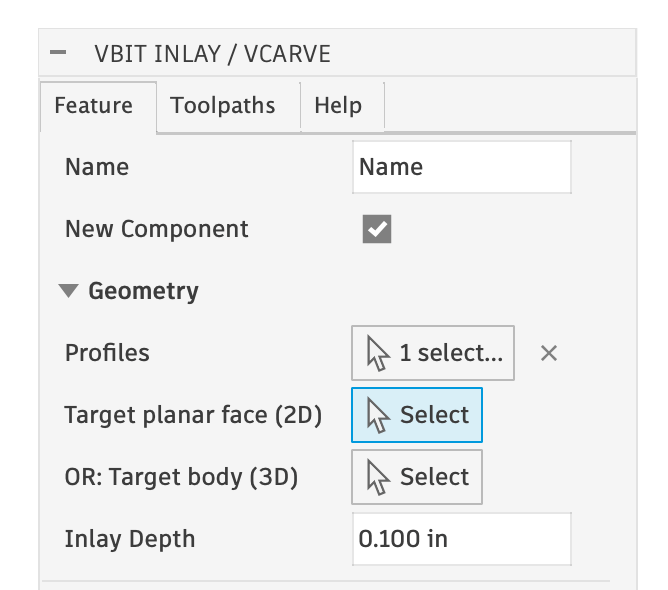
5
Click the top face on the Body
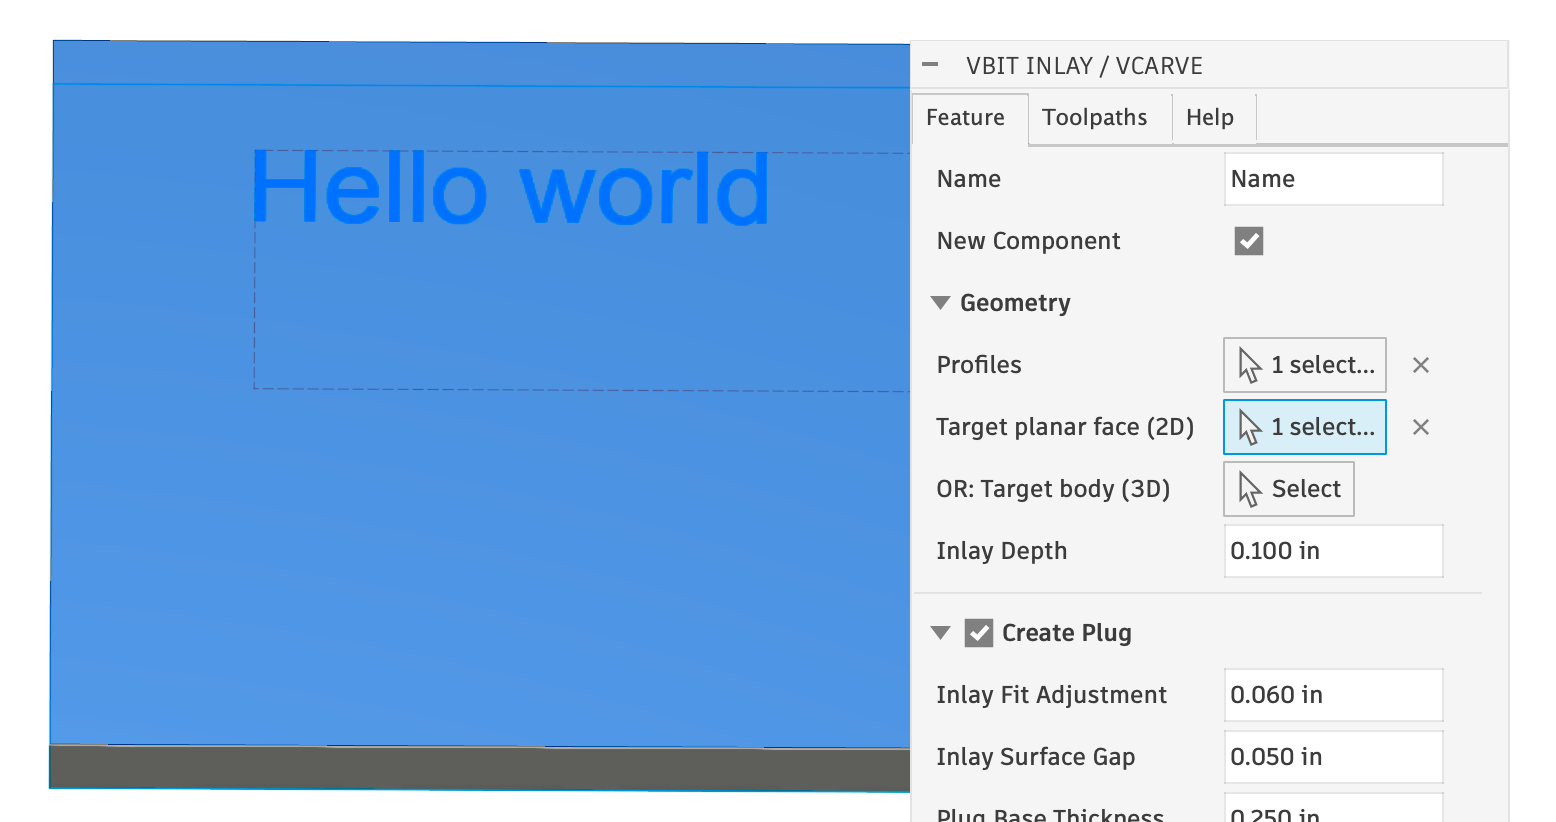
6
Click OK
Four Design Components are created:
- Name Pocket
- Name Inlay
- Name Plug
- Name Plug Stock
4. Machine the Pocket
4. Machine the Pocket
1
Open the Manufacturing Workspace
2
Select the Setup
3
Verify the toolpaths
4
Run the Simulation
5
Post process / export GCode, and run it on your CNC
Need help? Join Corbin’s Facebook group CNC Woodworking or email corbin@corbinsworkshop.com